How to make a cardboard Project Stack display
Back to Making things with cardboard!
Let’s make a Project Stack display!
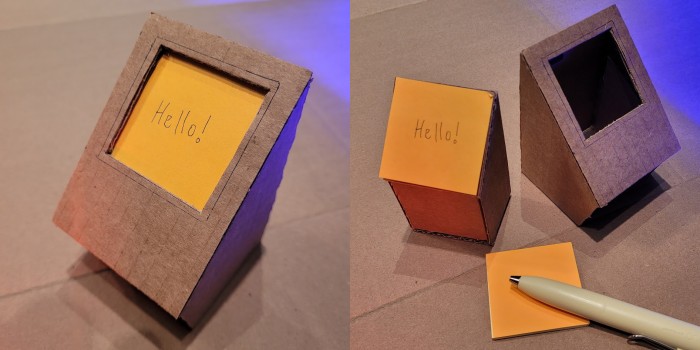
We’ll be making this simple display. It uses nothing more than gravity to keep the stack of notes pressed up against the angled window at the top of the display.
I tried to keep the steps as foolproof as I could. The design is not based on measurements. All sizes and angles are relative to the size of your sticky notes.
Because of this, your display will be unique to you and it should be pretty hard to get anything "wrong". I highly encourage experimentation and customization!
Materials
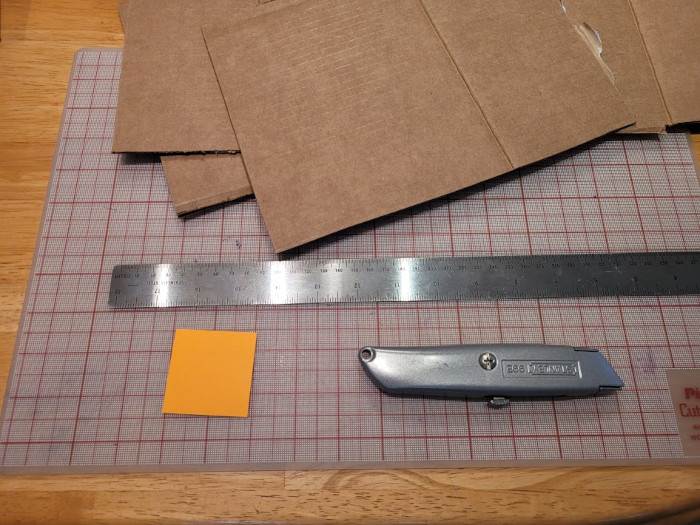
Our materials are simple. The only thing you have to have is some cardboard and some sort of knife to cut it.
My cardboard almost always comes from used shipping boxes. A utility knife with replaceable blade is one of the cheapest and easiest ways to cut the cardboard.
A cutting mat and straight edge such as this metal ruler is extremely handy. I’ve done a lot of cardboard projects without either of these items and they have a certain charm, but you can get a super neat cut if you have them.
A pad of the sticky notes I’m using for my stack is handy for size reference.
I’m using hot glue as my adhesive. It is extremely good for cardboard projects. Tape also works great, especially strong shipping tape, which you can cut down to size for smaller projects. Other types of glue should be fine as well; they just might need to be held in position as they cure.
Design
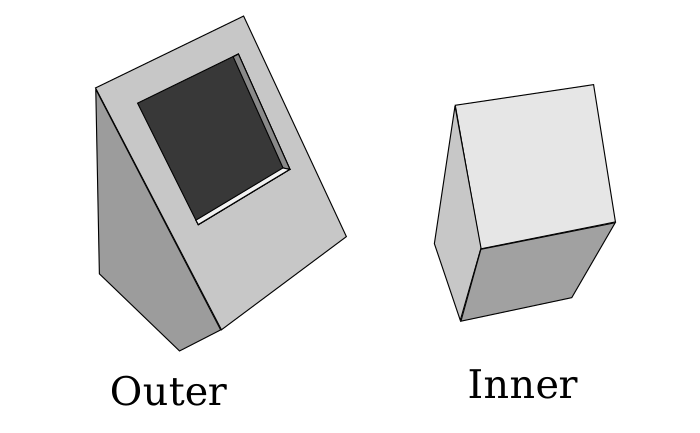
The display consists of an outer piece and an inner piece. The top angles of each piece are identical so that when a stack of sticky notes is placed on the top of the inner piece, it presses the notes flat against the outer pieces’s window.
We can count on gravity to keep it together, but it is extremely easy to add a friction fit component (just a little bit of paper or cardboard attached to the inside with a bit of trial-and-error) so that you can pick up the display without it coming apart.
We’ll create the inner piece first so that the outer piece is constructed to the correct dimensions without any tedious measuring.
Constructing the inner piece
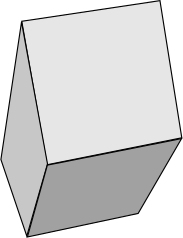
The inner piece is a simple box with an angled top. It’s the same size as the sticky notes themselves.
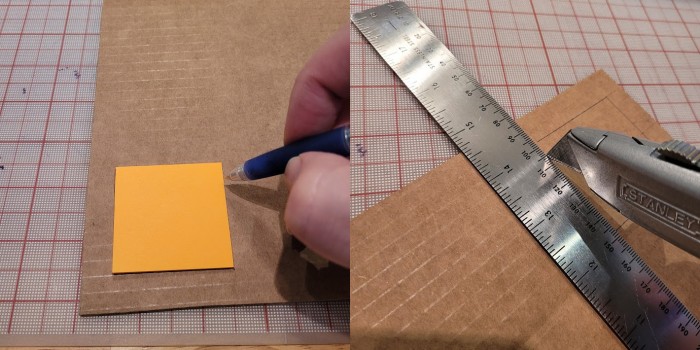
The first thing to do is cut the top of the inner piece. This is going to be the same size as your sticky note (I’m using Post-it brand "Mini Notes"). To do this, I’m tracing my note onto some cardboard with a pen.
To get a neat cut, you can hold down a metal ruler and run your knife along it. I can get pretty good cuts freehand as well. Your mileage may vary. Try both!
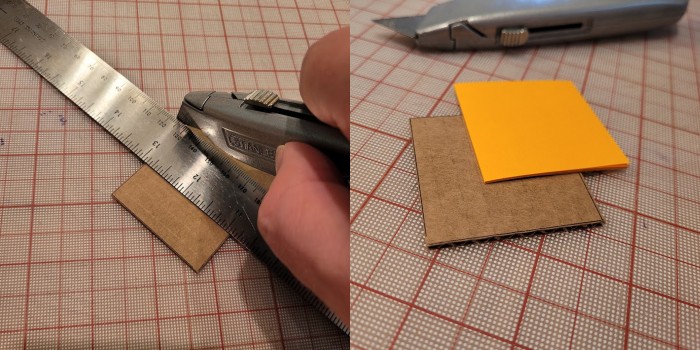
Four cuts and now I have a square of cardboard that matches my sticky notes. It doesn’t have to be exactly the same. A little bigger or smaller is still going to work. I won’t tell anybody.
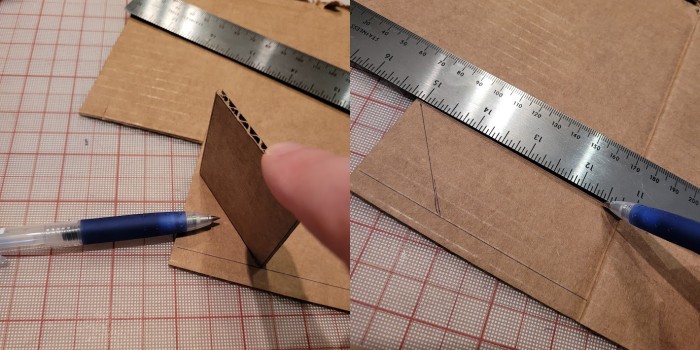
Making the angled side of the inner piece might seem like something that would require an engineering degree, but I make it easy by using my actual pieces as templates.
As you can see above, I’ve drawn a nice straight line for the long front edge of the piece. Then I’m using the square we cut in the first step to eyeball an angle that looks nice and marking a line along the top. I am not measuring any of this.
With the top angled line drawn, now I use a straight edge to draw the long back edge.
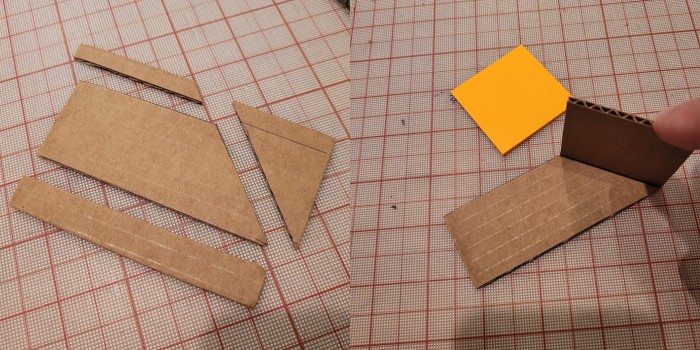
Four more cuts and now one angled side of the inner piece is complete.
In the second image, you can see me holding the angled top in place to see how it looks. I like it!
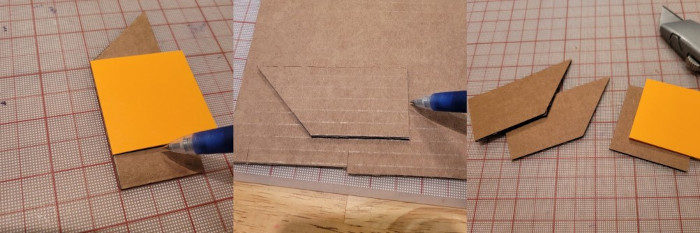
I decided to make the side a little shorter so the final display isn’t super tall. I’m using my sticky notes as a handy square to guide my mark.
Now that I have one side completed, I simply trace around it onto some more cardboard. Cut the tracings and now I have two sides. Copy-paste in real life!
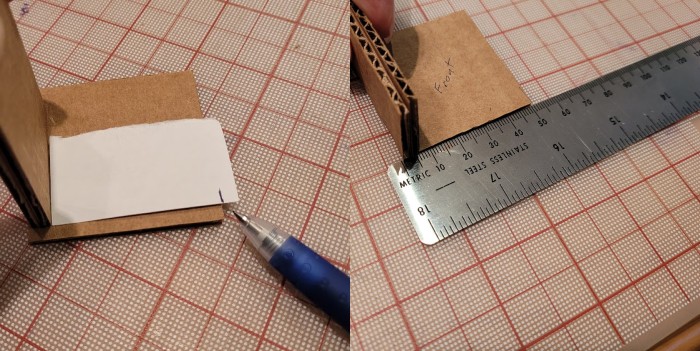
To account for the width of the cardboard itself when figuring out how wide to make the front, back, and bottom, I take a piece of scrap paper and make a template.
In the first picture above, I’m holding two (2) pieces of cardboard like a wall at the edge of my top square (from the first step). Then I put the piece of paper against the temporary "wall" and mark where it meets the edge.
This is challenging to describe in words, so let me try to explain the goal: We want to make front, back, and bottom parts that are the width of the top minus the cardboard thickness of the sides.
The second picture with the ruler is just to help explain. The top square is about 50mm square. The cardboard is about 2.5mm thick, so the sides will take up about about 5mm total.
Again, the point of the paper is to not have to actually measure anything. The ruler is only for demonstration purposes.
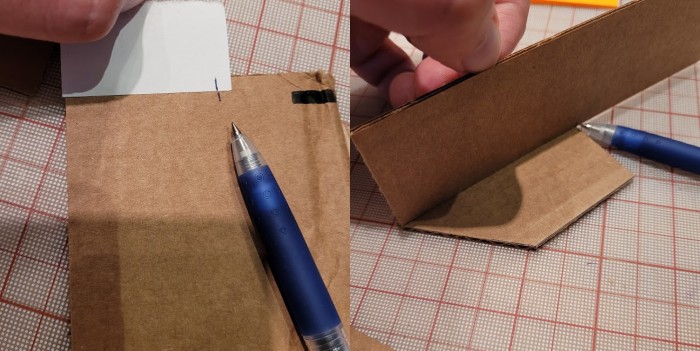
Okay, hopefully I didn’t over-explain that last part. Now I transfer the width to a fresh chunk of cardboard. I cut a long strip at that width. I want enough material make both the front, back, and bottom parts.
In the second picture, I’m marking the back to cut to length. I do the same for the front and bottom.
This is all much simpler to do than to describe, I swear.
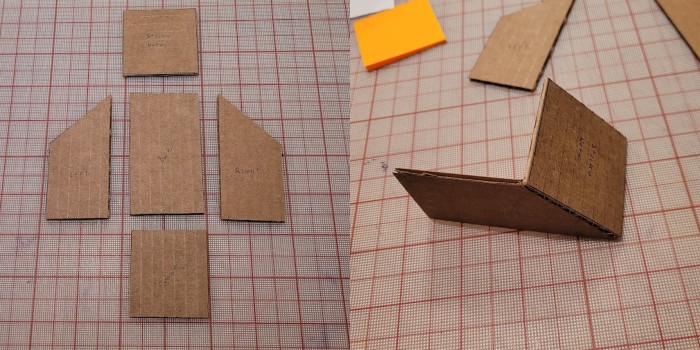
Here’s all the parts for the inner piece laid out. And assembly begins! It is super satisfying to start gluing everything together.
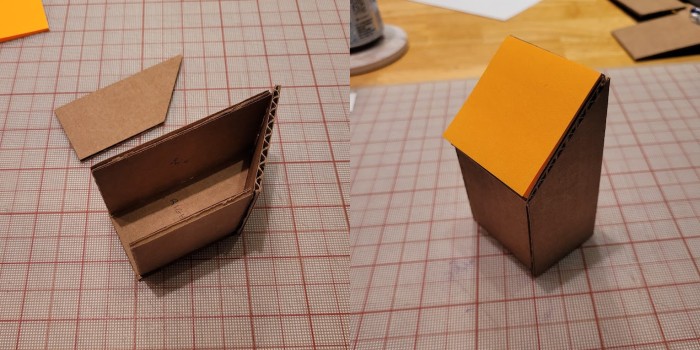
And now all of the pieces are assembled and we can test it out with some sticky notes. Nice. We have created a three dimensional object in real life. Time for a snack break.
Constructing the outer piece
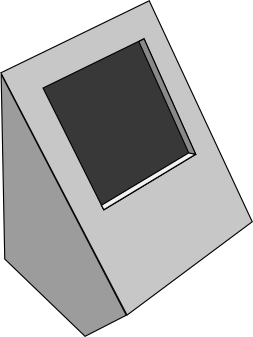
The outer piece is a shell that houses the inner piece. The angled top has a window that has been cut slightly smaller than the sticky notes so that they can be seen but cannot escape the display.
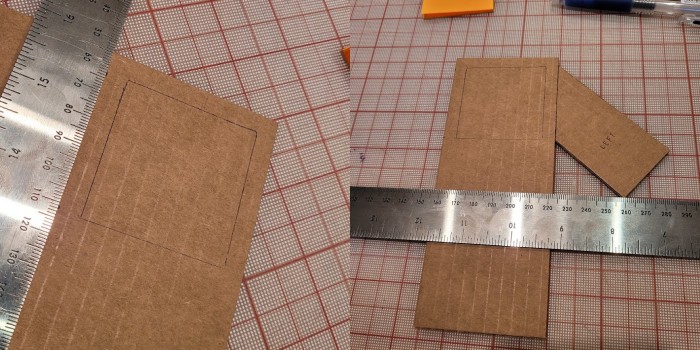
To get the outer piece started, let’s cut the top. I am eyeballing the width based on my sticky notes (you can see I traced one to get a feeling for the window placement and size).
I occasionally test-fit the parts to sanity-check the various dimensions.
If it’s wrong, no big deal. It’s just a tiny piece of cardboard. Don’t be afraid to start over and cut another one!
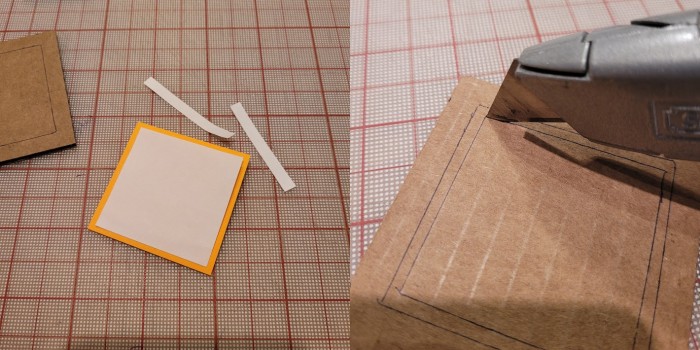
To get the window opening size just right, I’m making a paper template. I cut a square so that it’s smaller than my sticky notes by just the right amount. As easy as cardboard is to work with, paper is even easier.
Then I trace the paper template onto my top piece (within the square I’d already drawn - which I could have done in pencil or on the back side of the piece if I didn’t want it to show up on the final display). Plunge-cut the corners nice and neat and cut out the window.
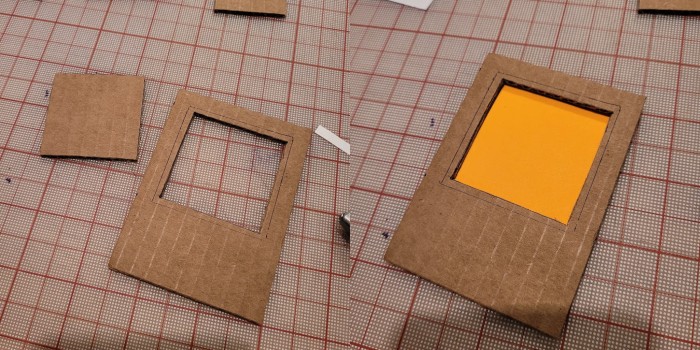
Don’t look too closely at my window cut-out! It’s a little rougher than I would have liked. If you haven’t changed or sharped your blade yet, this would have been a good time.
I’m happy with the size, though. It displays a sticky note nicely.
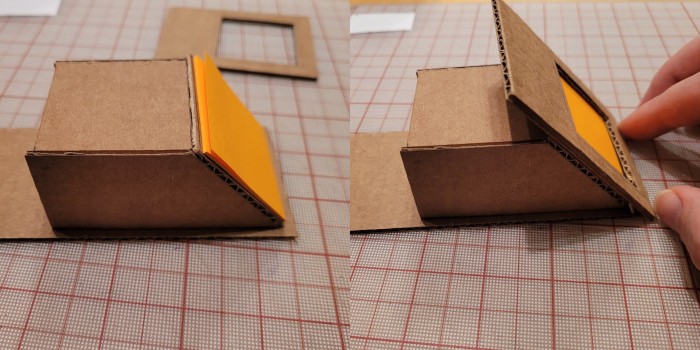
The back and front just need to be cut so that they’re even with the bottom of the inner piece. You can see me test-fitting the top so the length comes out correctly. No measuring needed.
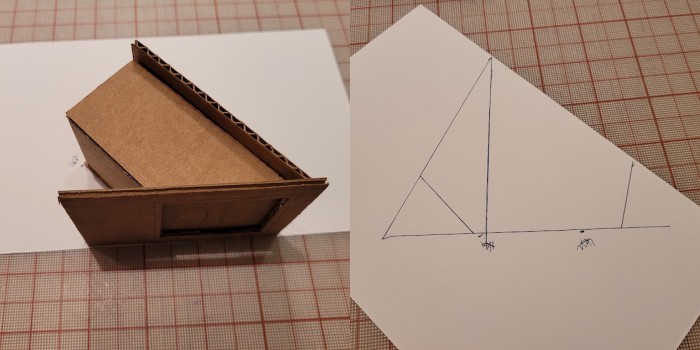
Now I use paper again to plan out the sides. I decided I wanted some overhang in both the front and back. Again, no engineering degree to get the angles right since it’s all just tracing and marking things out with a ruler by eyeball.
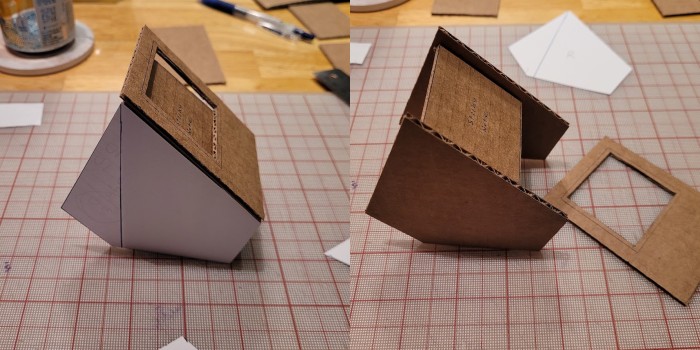
With the paper template cut out, I can see if I like how it looks. Then make it "real" by tracing the template on cardboard and cutting it out.
If I’m still happy with it, duplicate it.
Now it’s on to assembly.
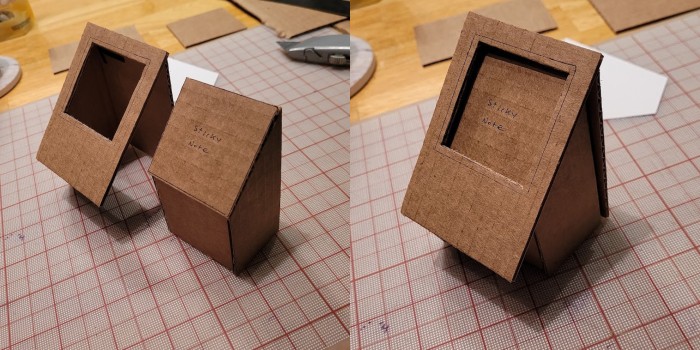
With the top, back and one side glued together, you can see how the inner piece fits neatly inside the outer piece.
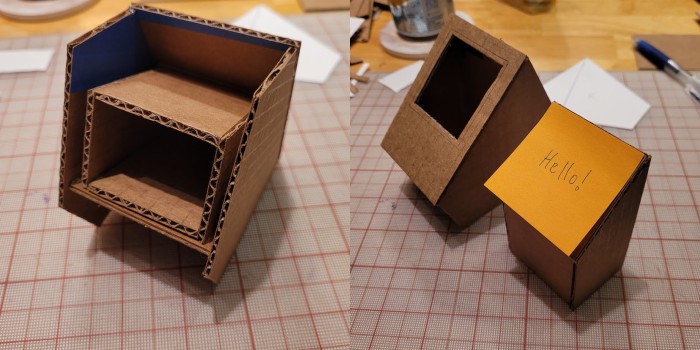
Here’s what it looks like underneath before the small front part of the outer piece is glued in place.
(Apparently I hadn’t glued the bottom onto the inner piece yet, either.)
In the second shot, we have the finished outer and inner pieces.
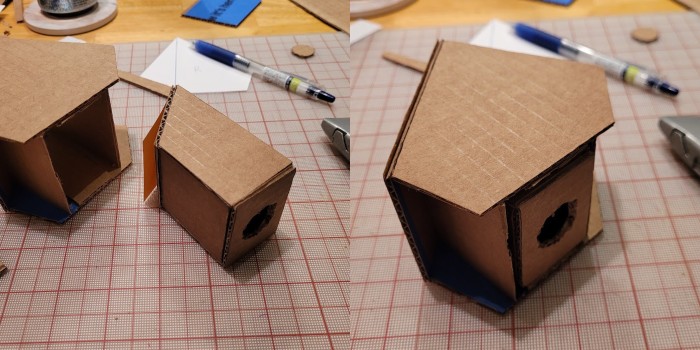
Adding some friction to the fit is very easy to do at this point. Just glue some paper or cardboard to the inner wall of the outer piece until the fit is perfectly snug.
Now it’s helpful to cut a hole in the bottom of the inner piece (or make a paper pull-tab) so you can easily pull it out!
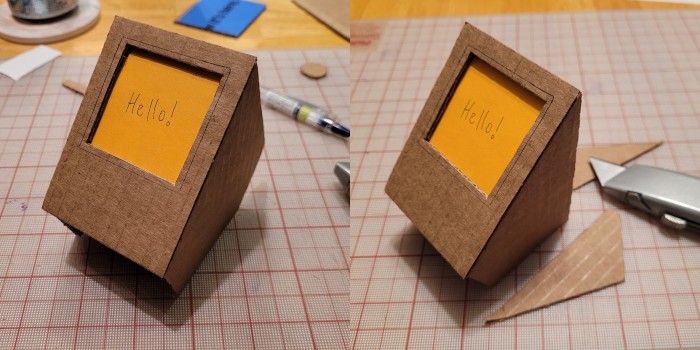
After playing with it on my desk for a while, I decided I didn’t want the "wings" sticking out of the back of the display, so I trimmed them off. Now the back of the display is completely flat and it takes up a little less room.
Cardboard is incredibly easy to customize and decorate. Make it yours!
Other ideas
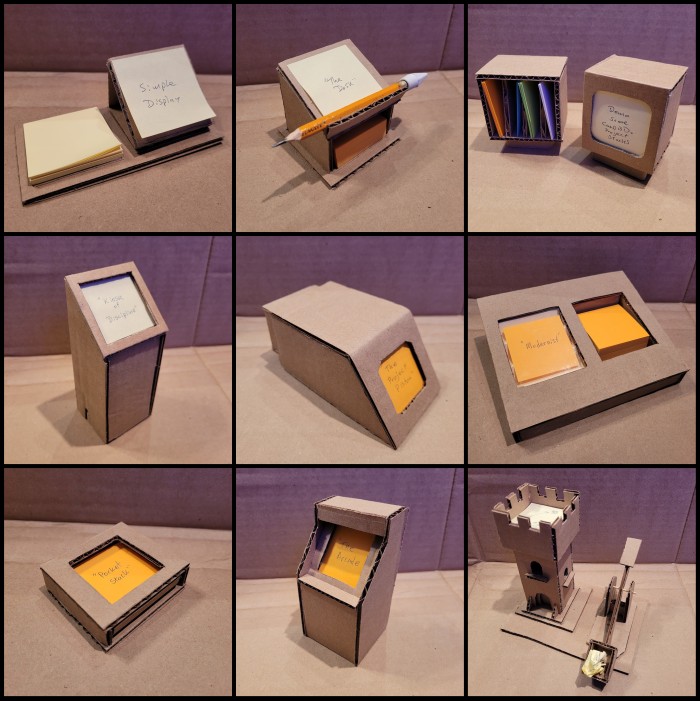
I created a bunch of other displays before I narrowed it down to this one.
Click here for Cardboard Project/Task Stack Display Ideas.