Fitted sheet update: Unfolding a professionally folded fitted sheet!
I finished Ratfactor’s Illustrated Guide to Folding Fitted Sheets last year and ever since, I’ve been on the lookout for additional fitted sheet folding tips.
Needless to say, I was very excited when we bought a new sheet set a couple months back. At last, a chance to see a pristine professionally-folded fitted sheet. The moment we got home, I ran upstairs with glee and took pictures as I peeled back the secrets.
Now I’ve drawn up the photos to show how it unfolded. Here, at last, I can share the results with you!
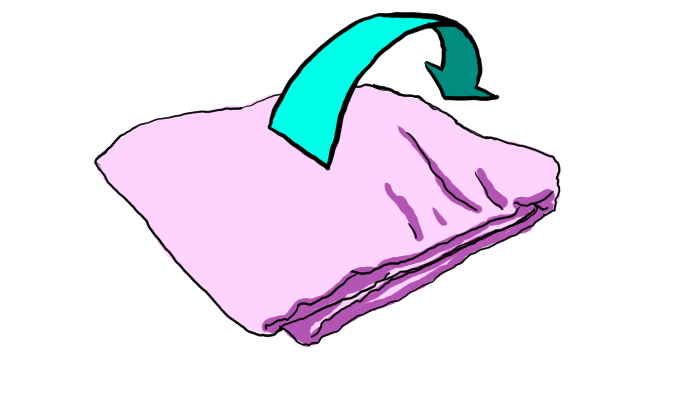
The final fold gave us a compact rectangle. What will we find inside?
Ah, it’s lengthwise. Two more folds and we have half the length of the final sheet.
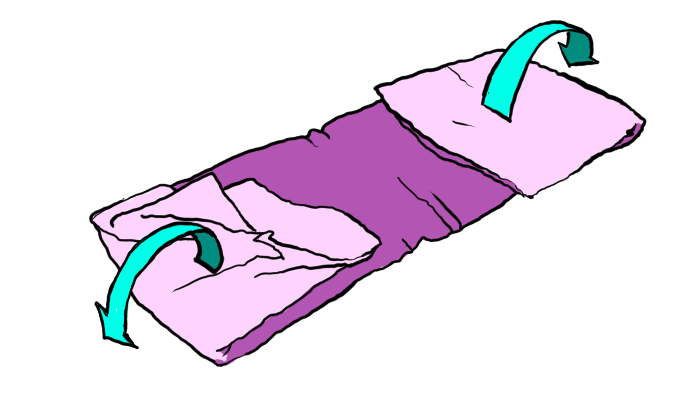
This long bundle looks like it could house a sword. But we know better. It unfolds on the long edge.
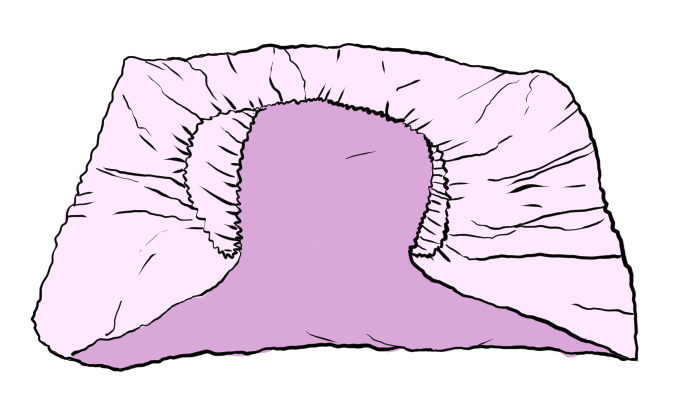
This is where it becomes clear that nothing magic is happening here. These folds are no better than the ones I was doing at home. The wrinkles show that the professionals had to deal with the less-than-square shape just like I did.
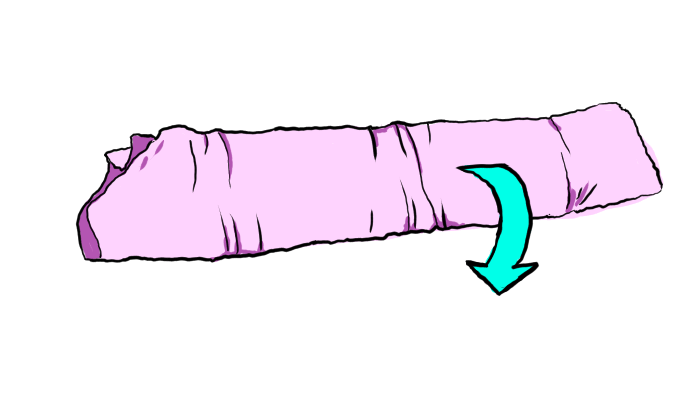
It unfolds on the long edge again. Time for the final reveal.
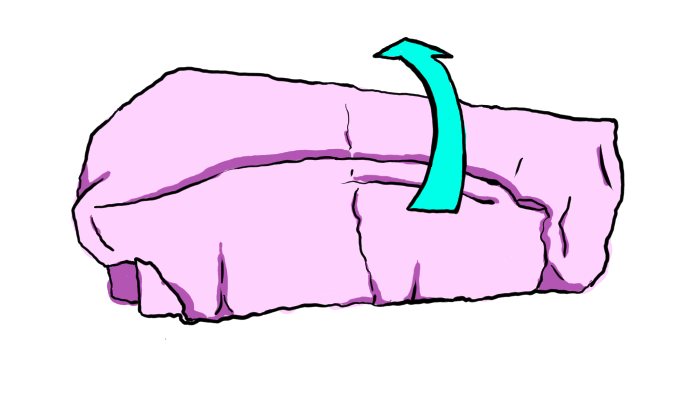
And voilà! It was a half sheet configuration.
What’s neat about this is that it confirms what I’d observed in watching professionals working in fitted sheet factories. They make the tucked half-sheet and fold it lengthwise. This is usually done with two people.
As before, all drawings done by hand, by me, using free open source drawing application Krita.